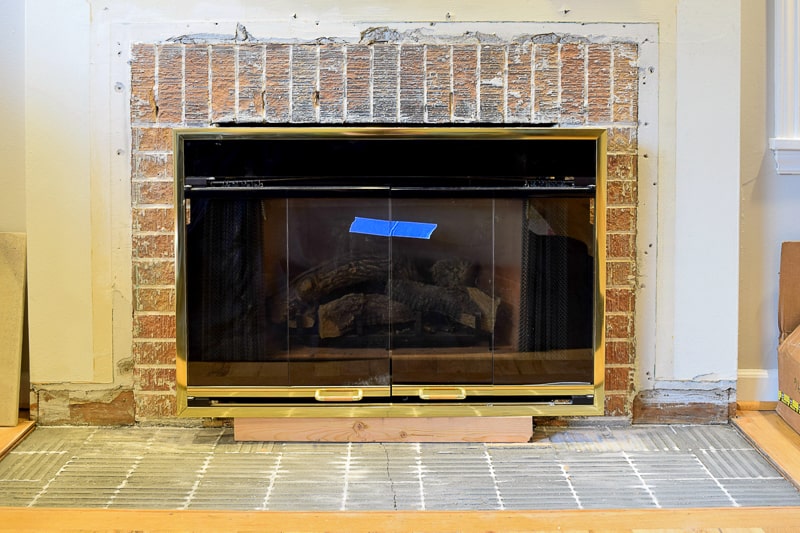
Installing a mosaic tile backsplash around a fireplace can be a great way to add a decorative element to your home. (You can find a wide selection of designs at Merola Tile).
To install a mosaic tile backsplash on a fireplace, you will need the following materials:
Mosaic tiles: These can be made from a variety of materials such as ceramic, porcelain, glass, or stone. Choose tiles that are suitable for use in high-temperature areas.
Tile adhesive: This is a type of glue that is used to attach the tiles to the wall. Choose an adhesive that is suitable for the type of tiles you are using and the surface you are installing them on.
Tile spacers: These are small plastic or rubber pieces that are used to ensure even spacing between the tiles.
Grout: This is a mixture of cement, sand, and water that is used to fill in the gaps between the tiles.
Tile cutter or tile saw: This is a tool that is used to cut the tiles to fit around the edges of the fireplace.
Notched trowel: This is a tool that is used to spread the adhesive evenly on the wall.
Rubber float: This is a tool that is used to apply the grout to the tiles.
Sponge: This is used to clean the tiles and remove excess grout after it has dried.
Sealer: This is a protective coating that can be applied to the grout to help prevent moisture and stains.
Make sure to choose high-quality materials that are suitable for the area where you will be installing the backsplash, and always wear appropriate safety gear when working with tools and materials.
Click here – Awakening the Soul: The Mystical Magic of Crystal Singing Bowls
Here are the general steps you can follow:
Prepare the surface: Ensure that the surface around the fireplace is clean, dry, and free from any debris. If there is existing tile or a backsplash, remove it using a hammer and chisel.
Measure and plan: Measure the length and width of the area where you want to install the backsplash. Determine the center point of the fireplace and mark it with a pencil. This will help you to plan the layout of the tiles.
Apply the adhesive: Apply the tile adhesive to the wall using a notched trowel. Spread the adhesive evenly and make sure it covers the entire area where you want to install the tiles.
Install the tiles: Starting from the center point, place the tiles on the adhesive, pressing them firmly in place. Use tile spacers to ensure even spacing between the tiles. Continue working outward, adding tiles until you reach the edges.
Cut the tiles: Use a tile cutter or tile saw to cut tiles as needed to fit around the edges of the fireplace. Take precise measurements to ensure accurate cuts.
Grout the tiles: Once the tiles are installed and the adhesive is dry, remove the tile spacers and apply grout to the joints between the tiles. Use a rubber float to spread the grout evenly and remove any excess.
Finish: After the grout has dried, use a damp sponge to clean the tiles and remove any grout haze. Apply a sealer to the grout if desired to help protect it from moisture and stains.
Remember to always wear appropriate safety gear such as eye protection and gloves when cutting tiles or using adhesives and grout.
Click here – What Is A Rugby Ball Called?

